Rock a natural look with this easy 2-strand twist out

Curly girls know that sometimes just thinking about doing our hair before a girls night out leaves us sitting on the couch with our bonnet and watching our favorite TV show. Well now we don’t have to! Let this 2-strand twist out do all the styling for you while you’re out and about rocking your favorite slap by Grace Eleyae.
Step 1: Be sure to have freshly washed hair that is dry before styling your hair.
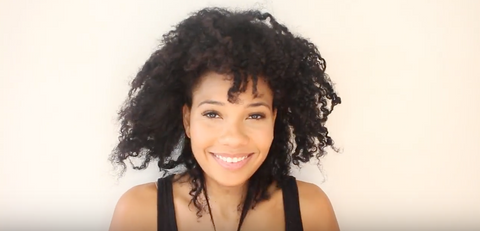
Step 2: Part your hair in your the direction that you’d like it to lay when you take the twists out.
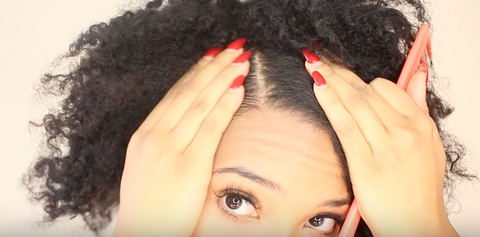
Step 3: Separate your hair into sections, this will determine the size of the twists that get so use your discretion.
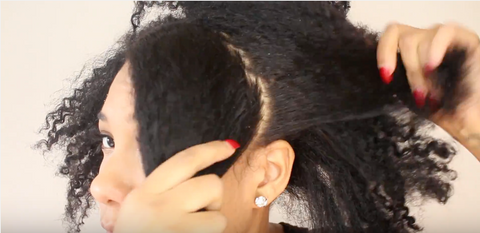
Step 4: Spray water on each section of hair so that it will be damp prior to making your twists. After this, apply your favorite leave in conditioner to make sure your hair stays looking fresh and not dry.
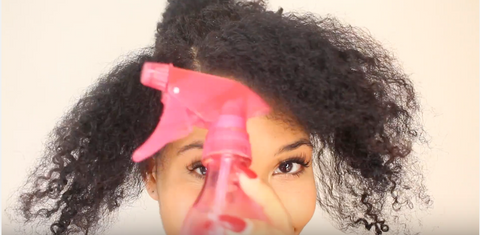
Step 5: Apply a little bit of defining gel to each section before you begin twisting to make sure all of your hair sections stay together with no frizz.
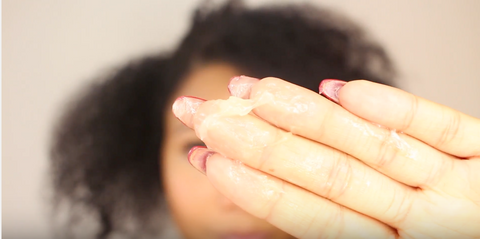
Now, it’s time to twist!
Step 6: Grab 2 strands of hair and start twisting, Be sure to twist all the hair from the section that you’re working on as you go. Applying more product as needed.
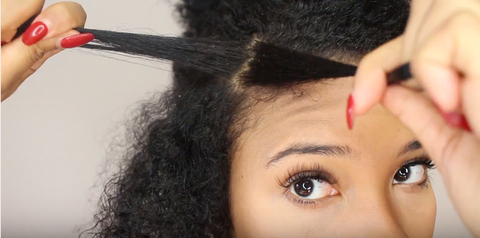
. . . Keep twisting!
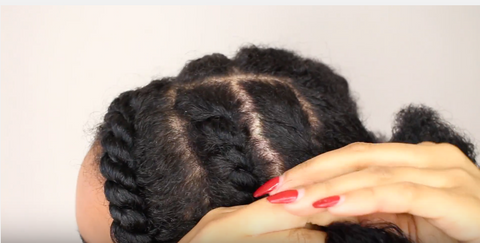
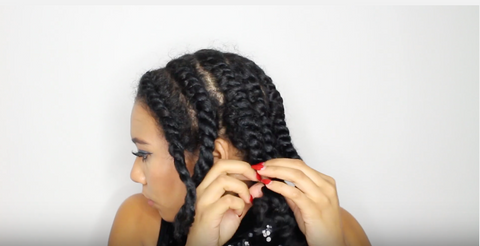
When you’re done twisting, and it should look something like this
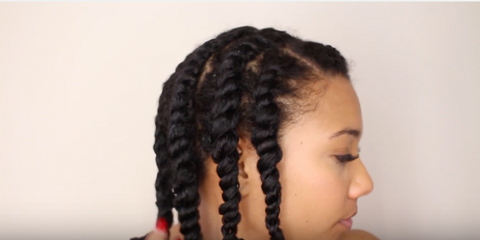
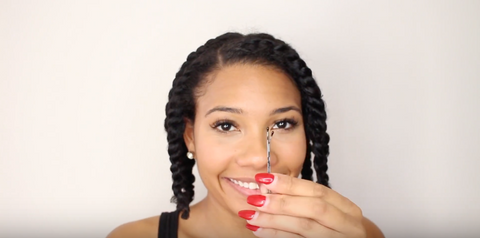
Step 7: Use a pin to hold your twists back so they aren’t in your way too much while you’re letting the style sit.
It should look like this!
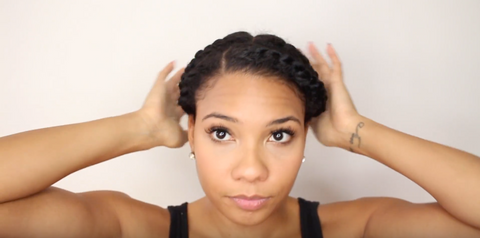
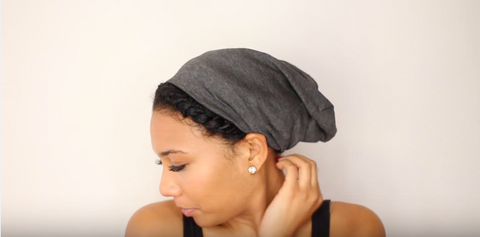
Step 8: Don’t let your twist-outs hold you back, put on a Satin-Lined Cap so that you can discreetly protect your style while you’re shopping for tonight’s outfit!
Step 9: When your twists are fully dry, take off your slap and gently untwist your hair being sure not to cause frizz.
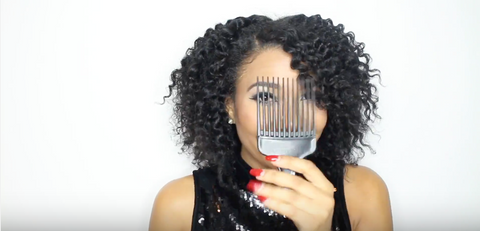
Step 10: Use a pick to fluff your hair as much as you’d like, being sure to hide the parts you created in step 4.
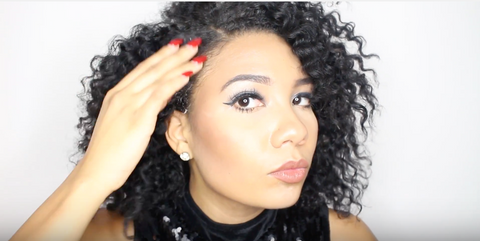
Step 11: Apply your choice of gel to your edges to keep them laying down.
Step 12: Now that your edges are looking good, form a big twist starting at the first part that you made in step 2. Pull your newly formed twist to the side and pin it in the back.
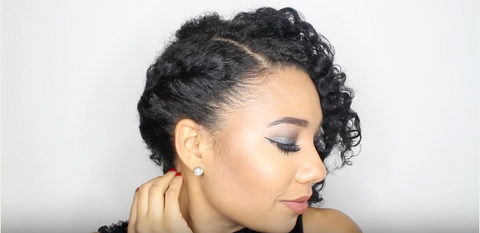
Step 13: Now all you have to do is shimmy into the outfit of your choice, and prepare to turn heads.
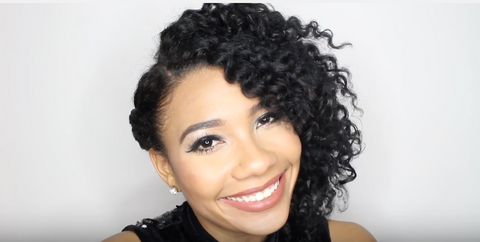
Watch the full tutorial here:
SHOP THE STORY
[product title="Rock a natural look with this easy 2-strand twist out" align="left" limit="10" cols="4" handle_collection="satin-lined-caps" hover="base" hide_pagination="true" hide_buttons="false" use_countdown="false" loop_countdown="false" collection_countdown_style="dark" btn_title="view more products" ]
-
Posted in
Fashion, Hair - Styling Tips, Nighttime Routine






Love the wonderful information and products that are provided on this site. Thank you!
I freakin love love love my slap cap. This is the next best thing to a slice of sweet potato pie. I love the fact that I can wear my slap cap to bed and be fashionably cute and then get up throw on some jeans and a t-shirt, out on some make up and hang out with friends. #Lovemyslapcap